Grid Trading Tips
This is an article about the Grid trading strategy. I will go in depth about how it works and share my knowledge regarding automation using TradingView and crypto exchanges.
Why is Grid trading so popular in crypto ?
I have been working on automated strategies since 2018, and coming up with a profitable setup is not always easy. However, with the Grid strategy, the setup process is one of the simplest. It does not require much trading knowledge besides placing a buy and sell order. More importantly, it is also quite easy to be profitable with it, although there are things to consider - I will go into it right after - simply because the strategy takes very few risks and abuses volatility, which is very typical in the crypto market, one of the most volatile out there.
How does the strategy work ?
It is important to know how the Grid strategy works, since it will decide on your strategy capital and order size, as well as risk management.
The user will choose an upper and a lower price, the grid boundaries. It creates a range, in which price will be moving sideways until it leaves the range. The range is divided into several steps or levels, and each time price crosses a step downwards, the strategy will buy. The current step is then disabled until another step is crossed. The strategy will sell each time a step is crossed to the upside. The amount bought and sold on each step is the same, so there can be several buys in a row, creating a pyramiding effect (your order size will add up). If you know the total number of steps, you can know how much capital is required to run the strategy. Usually you already know your strategy capital and divide it by the number of steps to find out the order size.
Things to consider when setting up a grid
Now that we know how it works, you must be wondering how is the profit calculated, how many steps should you use, and what are the risks ?
How is profit calculated ?
Since the strategy will be accumulating an asset before to eventually resell it if the price goes up, your "global" profit is linked to the current price, as if you would sell everything and stop the strategy. But if you run the strategy for a little while, the price will have crossed up and down steps several times, generating "grid" profit. The height, or price difference between two steps, correspongs to the "step profit" - the profit generated from a buy at a specific level and a sell at the level above.
After running the strategy for a while, the strategy will have generated "grid profit" from each step crossed up, that will add up to the "global profit" (if any) realised after going back into quote currency with the left-over base currency.
How many grid steps should you use ?
The more steps will be crossed up and down, the more "grid profit" will be generated, minus the trading fees. This is why, yes, more steps means more profit, but only until the step profit value is too small to cover the trading fees. Also, and this is very important, increasing the number of steps (for the same range) without reducing the order size per step will quickly increase the strategy required capital, and also increase the risks. So there is a balance to find, and we can say that the more steps there is, the bigger will be your capital allocation, so the bigger the risks, although it will generate more profit if price stays in the range.
First, we saw that there is a minimum step height due to the trading fees. Say fees are 0.1%, the step height in % should be bigger than that. From this point, the grid number is totally up to you. You can see the grid % on the indicator or you can calculate it manually. Slippage is also important to consider. From my personnal experience in backtesting and automated trading, a good step % would be 1-2%.
What are the risks ?
We saw that the condition for generating profit is either to have "grid profit" from price moving up and down through the steps, or simply by timing or exit above the average bought level.
The risk is then to be forced to sell (and stop the strategy) below your bought level, in a scenario of a crash or bear market where you can't wait for price to recover. Price may (and will) eventually go below the lower price of the grid range. That is why it is very important to plan ahead what to do in such scenario: are you okay with waiting for price to recover or should you sell and move on ?
Finding a good pair
When looking for a pair to use a Grid strategy with, it should have the following caracterstics:
Fundamentals need to be good, for both base and quote currency, obviously we don't want another luna/usc scenario. Make sure you know the project well and already used it through its applications. This is a generic advice when trading cryptocurrency.
The pair should be ranging. Crypto is either trending or ranging, or both, but if you can find a pair that is only ranging, that would be the best for grid trading.
VOlatility. The more volatile the pair will be, the more steps will be crossed, and the more grid profit will be generated.
Which time frame to use in TradingView ?
When setting up the grid, you need to zoom out in order to see in which range the price is moving. So I will start on 1 day, set my higher and lower price, then I will move to the 1 minute chart and create my alerts.
Which orders should you use ?
Since we already know at which prices to buy and sell, limit orders are the best. We could also use market orders, but it is usually more expensive.
How to automate it through alerts ?
The easiest way is to create an alert that sends a "buy" or "sell" market order at current price each time a step is crossed. This is what I have been doing with the first version of my indicator.
If we want to use limit orders, we need to plan ahead. We can place a grid of buy and sell orders when we start the strategy. Then everytime a step is crossed down, a buy order is filled, and a new sell order is placed one step above, which has no order yet since it was the current step. When a step is crossed up, a sell order is filled and we place a buy order one step below. That way our grid remains active as steps get crossed.
Plan ahead when starting a bot
Count how many steps there is above the current price when you start a bot. Multiply that by the order size and you will know the starting equity you have to buy. That way the bot will be able to sell as price climbs up through the steps. You can also decide to start with 0 equity, if you think the price will drop. But then you might be missing on grid profits because the bot will have nothing to sell if price climbs up directly.
Think about what to do if price leaves the grid. Do you want to stop the bot, or sell everything, or both ? You can automate that through alerts. If price breaks through the top of the grid, it's a good thing, you will have made grid profit. But if it breaks through the bottom, you will find yourself with bags and you should know what to do with it beforehand, to avoid bad scenarios like with Luna. Finding a good pair is the most important, so you should not stick with a losing pair for too long.
Written by Cyatophilum - Created 4 years ago - Last edited 4 years ago
Recent Articles

Introducing the "Trend or Range?" Indicator
Understanding market conditions is a cornerstone of successful trading. Whether you’re trading cryptocurrencies, stocks, or forex, identifying if a market is trending or range-bound can drastically enhance your strategy’s effectiveness. The "Trend or Range?" indicator is here to simplify this process.
What Is the "Trend or Range?" I ...
We are thrilled to announce that short bots are now available!
In this article, we will see why a short bot could be interesting, how it works, and how to trade safely.
Why use a short bot?
Just like a buy and sell bot, the idea of a short bot is to make a profit out of price action, but in a bear market.
For a buy and sell bot, we just need a simple spot trading wallet, ...


Ethereum is now trading at $2600 and this month saw a lot of volatility but mainly bearish as the price went from above the $3000 level down to the exact 0.236 Fibonacci level at $2130.
The August monthly candle is printing a long lower shadow and the close above or below the 24 months EMA will be crucial to indicate a global trend. It will be 3 bearish candles in a row, which has been the maxi ...
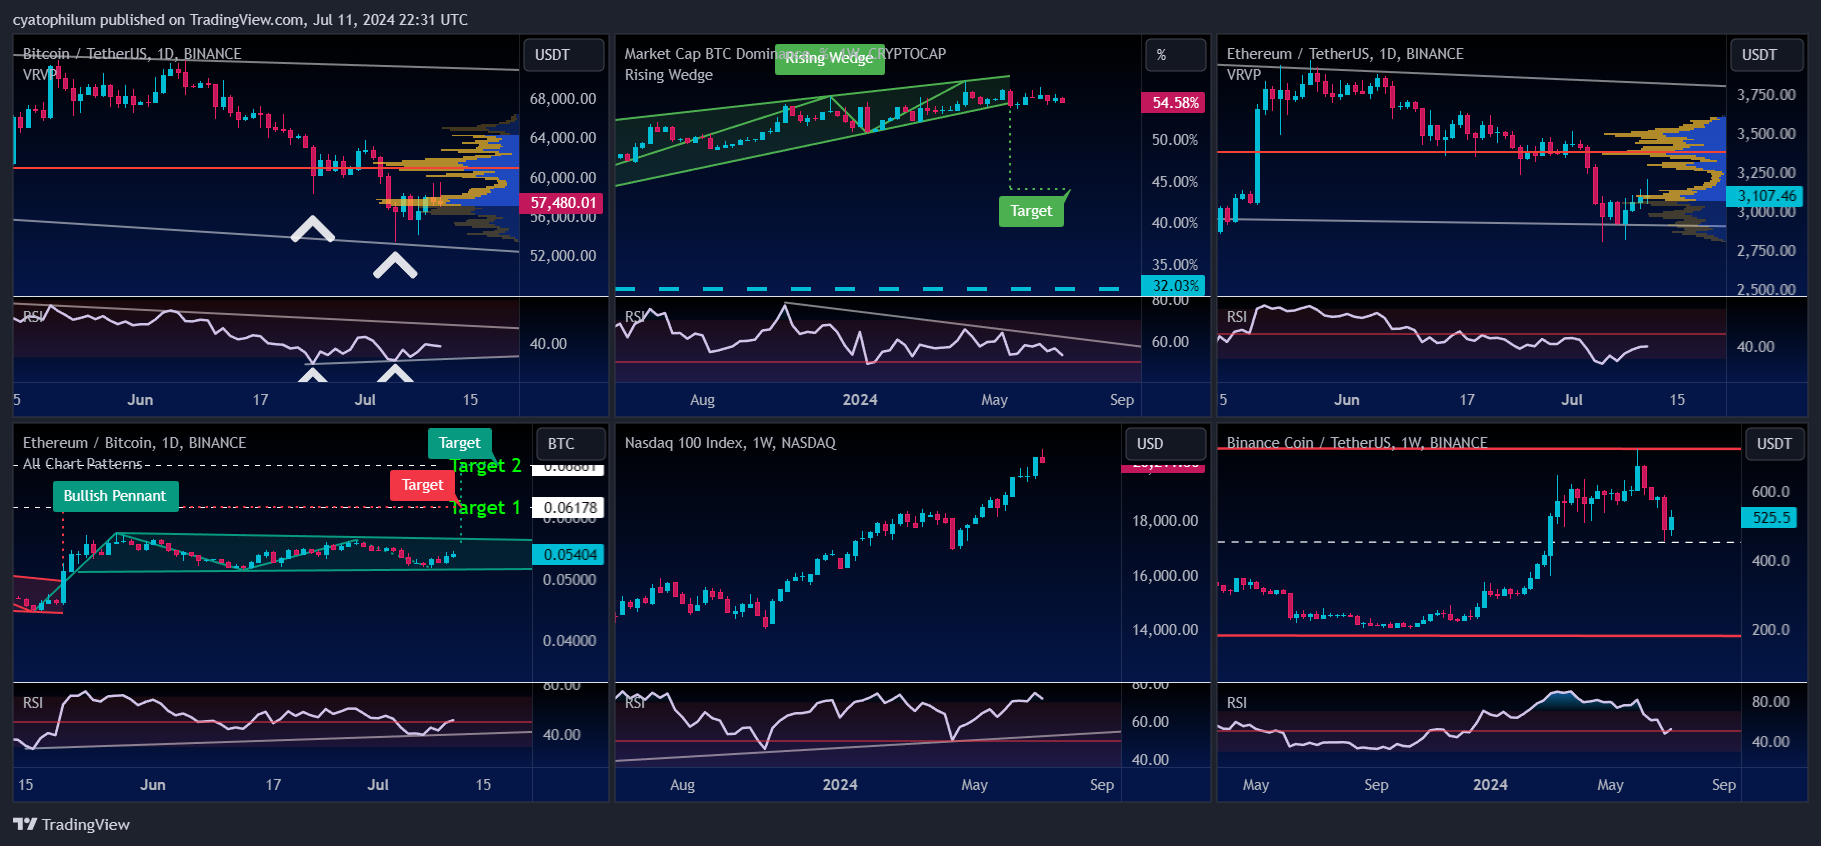
Welcome to our weekly analysis of the cryptocurrency space.
BTC/USDT
The BTCUSDT chart shows Bitcoin trading within a descending channel, with recent price action bouncing off the lower boundary of this channel, indicating potential support around the $53,000 level. The RSI indicates bullish divergence, suggesting a possible trend reversal or a strong bounce from this support level ...